If you are registered with us through your Doctor for RPM or CCM, you will receive your health device directly from Health Wealth Safe.
Please call us at +1 (877) 581-8810 for additional device support.
Within 1 hour after dinner or drinking
Within 20 minutes after taking a bath
A very cold environment
Immediate measurement after tea, coffee, smoking
Talking or moving your fingers
When you have to go to the bathroom
Put in a dry place and avoid the sunshine
Avoid intense shaking and collisions Using wet cloths to remove dirt
Avoid touching water, clean it with a dry cloth in case
Avoid dusty and unstable temperature environments
Do not attempt to clean the reusable cuff with water and never immerse the cuff in water
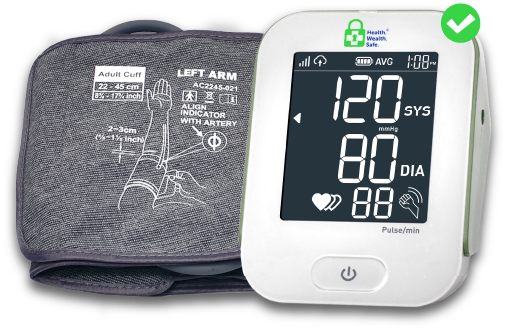
When heart ventricles contract and pump blood out of the heart, the blood pressure reaches its maximum value in the cycle, which is called systolic pressure.
When ventricles relax, the blood pressure reaches its minimum value in the cycle, which is called diastolic pressure.
We connect patients to their doctors by tracking health data in real-time through easy-to-use devices, ensuring care is just seconds away. This is the future of healthcare!
Become a Partner
Support
Portals